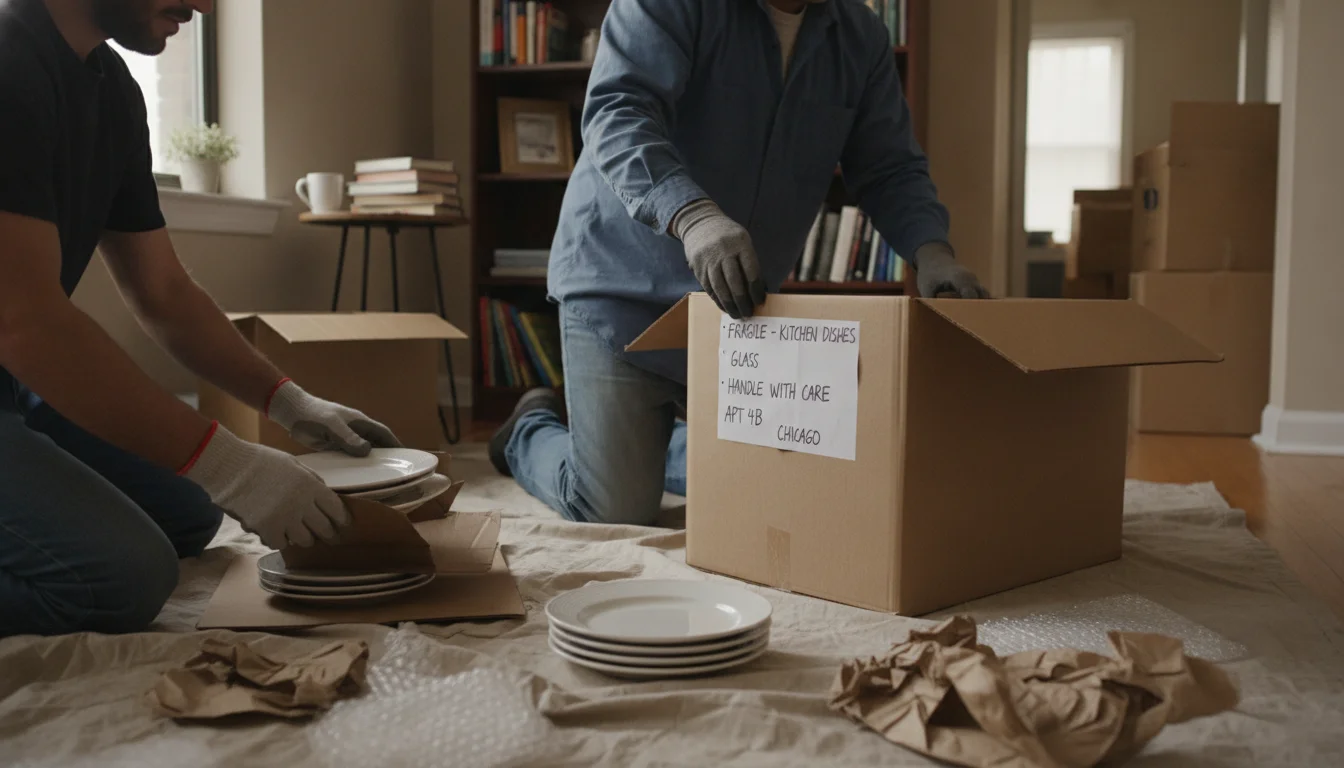
Opening a box to find chipped plates is frustrating—and avoidable. The best way to pack dishes is to use double‑wall dish boxes, wrap each item snugly, stand plates and bowls on their edge, fill every gap so nothing shifts, label clearly, and load boxes low and secure. This guide explains how to pack dishes step by step so your kitchenware arrives intact on any move across San Luis Obispo or beyond.
San Luis Obispo Movers helps families and offices across San Luis Obispo pack fragile items with professional care every week. Below is a simple, repeatable method that mirrors pro habits—covering supplies, wrap techniques, box construction, labeling, loading, and efficient unpacking. Follow along and you’ll be able to pack a full kitchen with confidence and less stress.
Key Takeaways
- Use sturdy double‑wall dish boxes and keep each one at a safe, manageable weight.
- Wrap snugly and stand plates and bowls vertically; place glassware in dividers.
- Pad the bottom and top of each box and fill all voids so items can’t shift.
- Label multiple sides with room, contents, and FRAGILE/THIS SIDE UP.
- Load dish boxes on the floor of the vehicle and brace them tightly.
Table of Contents
- Gather the right supplies for dish packing
- Prep your kitchenware before you wrap
- Wrap dishes the right way for shock protection
- Build smarter boxes that won’t collapse
- Label, inventory, and insure your fragile boxes
- Load and transport to minimize risk
- Unpack efficiently and avoid common mistakes
- Frequently Asked Questions
- Key takeaways
- Conclusion
Gather the right supplies for dish packing
A good pack starts with the right tools. A dish box is a double‑wall moving box with two layers of cardboard that absorb bumps better than standard boxes. They’re ideal for plates, bowls, and glasses because they handle impact and stacking without sagging.
Essential materials checklist
You need dish boxes, packing paper, foam sheets, and bubble wrap. Packing paper is ink‑free, soft paper that cushions and prevents scratches. Foam sheets are thin pads sized for plates and bowls. Bubble wrap helps protect sharp edges and delicate stems. Add cardboard dividers for glasses, strong packing tape, and fragile stickers. A marker helps you label each side. A small scale or bathroom scale can help you monitor weight, but a careful lift test works too. A box cutter will help you trim dividers and tape cleanly. Keep a soft towel or two for quick void fill. Void fill is any soft material that fills empty space so items do not shift.
What to skip and why
Skip grocery store boxes. Many are weak, damp, or have pest residue. Avoid newspaper, since ink can transfer and stain dishes. Do not use thin gift tissue as the only wrap; it tears and offers little cushion. Stay away from worn tape that peels. Do not mix dishes with heavy pantry cans—one sudden stop can crush the bottom layer. These skips reduce risk and make your pack smoother.
Prep your kitchenware before you wrap
Prep makes the wrap step faster and neater. You’ll touch each item once, wrap it, and place it—saving time and keeping sinks and counters clear.
Declutter and group by type
Start with a quick edit. Pull chipped mugs and plates you never use. Donate or recycle what you will not move. Group by type and size: dinner plates, salad plates, bowls, mugs, wine glasses, and serving pieces. Make a small "first‑night" set—two plates, two bowls, two cups, and basic cutlery—that you will unpack first. Grouping keeps wrap sizes consistent and boxes balanced. You can also stage a "fragile only" area so helpers do not drop in heavy items.
Clean, dry, and stage a safe packing zone
Wash and dry every piece. Moisture trapped in paper can warp items or create odors. Clear a counter or table and cover it with a clean towel to prevent scratches while you wrap. Place your box on a chair next to you so you lift less. Tape the bottom with an H‑tape seal. An H‑tape seal runs tape along the center seam and both edge seams. Add a layer of crumpled paper about two inches deep on the bottom as a shock pad. Place stacks of paper and foam within reach. Keep trash and donate bins nearby. In a small San Luis Obispo kitchen, use the table as your main station and rotate boxes in and out of the room to keep pathways clear.
Wrap dishes the right way for shock protection
Wrapping is about stopping movement and spreading impact. Each item gets a snug shell, then support in the box. The goal is zero rattle.
Plates and bowls: the bundle-and-vertical method
Lay a foam sheet, then a plate, then another foam sheet. Add up to four plates of the same size in one stack. Wrap the stack tightly in packing paper. Tuck the paper edges like a gift so no corners poke out. Place stacked plates on their edge in the box. Vertical placement spreads impact along the rim, not the face. Add a row, then fill gaps with crumpled paper so rows do not touch. For bowls, nest two to three with foam between, then wrap the nest. Set them on edge too. Heavy serving bowls go on the bottom layer over the padding. Lids get their own wrap and stand on edge beside their pot or dish. This bundle‑and‑vertical method reduces breakage while keeping the process efficient.
Glasses, mugs, and stemware: stem and handle support
Glasses and mugs need extra care at weak points. Start with a crushed paper nest inside the cup to support the base. For handles, wrap a small paper roll around the handle first. For stems, wrap the stem with a strip of bubble, then the bowl with paper. Slide each item into a divider cell. Dividers shield against side hits and keep pieces from clinking. If a glass is very thin, double wrap it and add a foam sheet around the bowl before it goes into a cell. Place heavier mugs low and lighter stemware above. Do not stack glasses inside each other. If you can hear a clink when you shake the wrapped item, add more paper until it’s silent.
Build smarter boxes that won’t collapse
A strong box protects even when the road gets rough. Structure matters as much as wrap. Take a minute to build it right.
Cushioning, layering, and dividers
Start with a soft cushion at the bottom—crumpled paper or foam works well. Create layers by weight. Heavy plates and casserole dishes on the bottom. Medium bowls and mugs in the middle. Light glasses and plastic lids near the top. Slide in divider grids for glassware. If a divider leaves gaps, bridge them with strips of cardboard so cells stay tight. Fill every void with crumpled paper or towels. Voids let items shift and collide. The top layer needs a final cushion before you close the box. Press down gently; the lid should meet without force. If not, remove one item and place it in a new box. Overstuffing crushes the walls and leads to collapse.
Sealing and weight limits per box
Close the flaps and use the H‑tape seal on top. Run your hand along seams to feel for give. Add a second strip if needed. Keep each dish box at a manageable weight that you can lift comfortably without straining and that does not bulge the sides. If you do not have a scale, use a "lift test." You should be able to lift the box smoothly and set it down without a thud. If it feels overly dense or the walls bow, split the load. Add reinforced tape handles on the sides for easier grip, but never cut hand holes into the box—hand holes weaken the wall.
Label, inventory, and insure your fragile boxes
Clear labels save time on move day and at the new place. A simple inventory also helps if you file a claim for damage.
What to write on each side
Write three things on at least two opposite sides and the top: the room, the contents, and a big FRAGILE / THIS SIDE UP note with arrows. Use bold, dark ink. Add "Open First" to your first‑night dish box. Put the label on the side you will see when it is stacked in the truck. If you live in San Luis Obispo and share elevators or hallways, clear labels also guide helpers who may not know your layout. Color tape is helpful: blue for kitchen, red for fragile. Keep it simple so anyone can follow.
Simple inventory methods that save time
An inventory is a list of what is in each box. The fastest way is a box number on the label and a note on your phone with the number and highlights inside. Example: "Kitchen 4: dinner plates (8), salad plates (6), mugs (6)." Snap a photo of the top layer before you seal the box. Photos help if you need to demonstrate packing quality later. If you use a moving company, ask about valuation coverage. Valuation is a mover’s coverage option for loss or damage, not the same as home insurance. For high‑value sets, note brand and pattern. Keep receipts in a folder with your move papers.
Load and transport to minimize risk
How you load matters. Good loading turns a careful pack into a safe ride. Think about weight, pressure points, and how boxes move in a turn.
Where dish boxes go in the vehicle
Place dish boxes on the floor of the truck or van. The floor offers a flat, stable base with less sway. Keep them off stacks and away from toolboxes or heavy furniture edges. Build a tight wall with other fragile boxes so nothing can slide. Use straps to lock the wall. If using a car, place dish boxes on the rear floor behind the front seats. Avoid the trunk where things slide. Do not place dishes under loose items that can fall in a stop. For multi‑stop routes in the San Luis Obispo area, load dishes last so they come off first and spend less time in motion.
Carrying and handoff tips for helpers
Lift boxes from the bottom with both hands. Keep them close to your body. Do not carry two fragile boxes at once. Announce stairs and turns out loud. Pass boxes level to the next person so contents stay upright. Never toss or slide a fragile box across the floor. If rain is likely in San Luis Obispo, keep a plastic tote or trash bags at the door to cover the top and protect labels. CA or Packing Services in San Luis Obispo, CA, show them your label system so they can place boxes in the right room fast.
Unpack efficiently and avoid common mistakes
Unpacking dishes well keeps your new kitchen calm and safe. A plan helps you avoid a sink full of paper and broken glass.
Safe order of operations in the new kitchen
Start by cleaning shelves where dishes will go. Open the "Open First" box and set up a day‑one kit: two plates, two bowls, two cups, and dish soap. Next, unpack plates and bowls since they are used most. Then do mugs and glasses. Lay a towel on the counter to catch stray bits of paper. Unwrap over the towel so any chips do not scratch counters. Put foam between stacks on shelves if roads are rough where you live. Recycle paper as you go so it does not pile up. Keep a small box for re‑use if you plan a return trip.
Mistakes to avoid (and quick fixes)
Do not stack plates flat in the box—keep them vertical. Do not leave voids; fill gaps so items cannot move. Do not mix heavy pots with delicate glass. Keep heavy low and fragile high. Do not rush labels; vague labels cause stress later. If you forgot dividers, cut strips from an extra box to make simple cells. If a box got damp, unpack and dry items right away. If you find damage, take photos before you discard wrap. Then file a note with your mover. Furniture Movers in San Luis Obispo, CA and Long Distance Movers in San Luis Obispo, CA can also advise on placing dish boxes away from weight points when loading big pieces like hutches.
Frequently Asked Questions
How do you pack plates so they don’t break?
Wrap plates in foam and paper, stack a few by size, then place them on edge in a sturdy double‑wall box. Add cushioning below and above, fill gaps so nothing shifts, and keep the box at a safe, easy‑to‑lift weight. Label FRAGILE and THIS SIDE UP on multiple sides.
What is the best way to pack glasses and mugs?
Create a paper nest inside each glass, wrap handles or stems first, then the body. Slide each piece into a snug divider cell. Fill any gaps with crumpled paper. Keep heavier mugs low, lighter stemware high, and avoid nesting glasses. Shake gently; if you hear a rattle, add more wrap until it’s silent.
Can I use towels instead of packing paper for dishes?
Towels work for extra padding, but they are not a full replacement. They can shift and leave gaps. Use ink‑free packing paper or foam as the main wrap, then add towels to fill voids or protect edges. Keep towels clean and dry to avoid odors on dishes after the move.
How heavy should a dish box be?
Aim for a manageable weight that you can lift comfortably and that does not cause the walls to bulge. If you are unsure, do a lift test—if it feels too dense or awkward, split one heavy box into two lighter ones.
Where can I get the right boxes for dishes?
Look for double‑wall dish boxes and glass dividers at moving supply stores or from Local Movers in San Luis Obispo, CA. Avoid grocery boxes because they can be weak or damp. You can also rent moving boxes if you prefer reusable options that arrive clean and ready to pack.
Key takeaways
- Use sturdy double‑wall dish boxes and keep each at a comfortable, safe weight.
- Wrap tight and place plates and bowls on edge; use dividers for glassware.
- Pad the bottom and top and fill all gaps so nothing moves in transit.
- Label every side with room, contents, and FRAGILE/THIS SIDE UP.
- Load on the floor of the truck and unpack in a set order.
Conclusion
Packing dishes well is a system, not a guess. With the right supplies, a clean setup, snug wraps, and smart labels, your kitchen can travel safe and arrive ready to use. San Luis Obispo Movers serves homes and offices across the main San Luis Obispo area—from Downtown and Railroad District to Avila Beach, Arroyo Grande, Morro Bay, Atascadero, and nearby communities—and can help with planning, supplies, and packing for local and long‑distance moves. For hands‑on help or to schedule Packing Services in San Luis Obispo, CA, Contact us.
If you are not sure which of these you are dealing with, it is worth having someone look at it before it turns into a bigger job. Get in touch with San Luis Obispo Movers today and we will tell you where you stand.